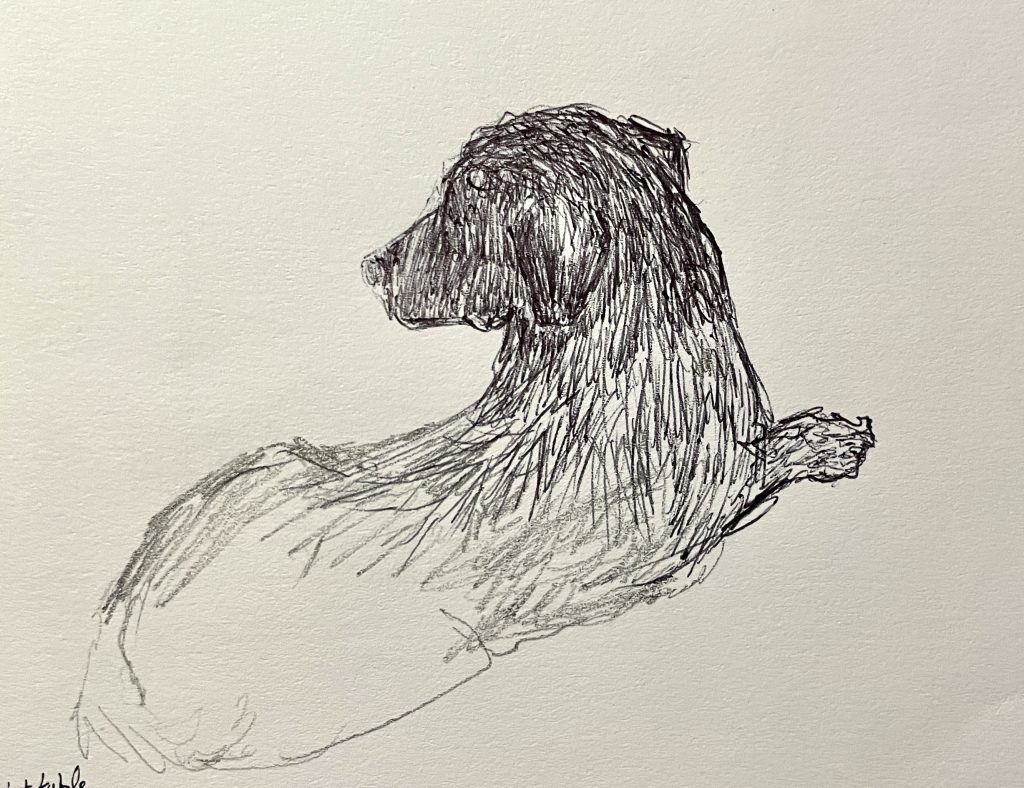
“Drawing is the basis of art. A bad painter cannot draw. But one who draws well can always paint.”
— Arshile Gorky
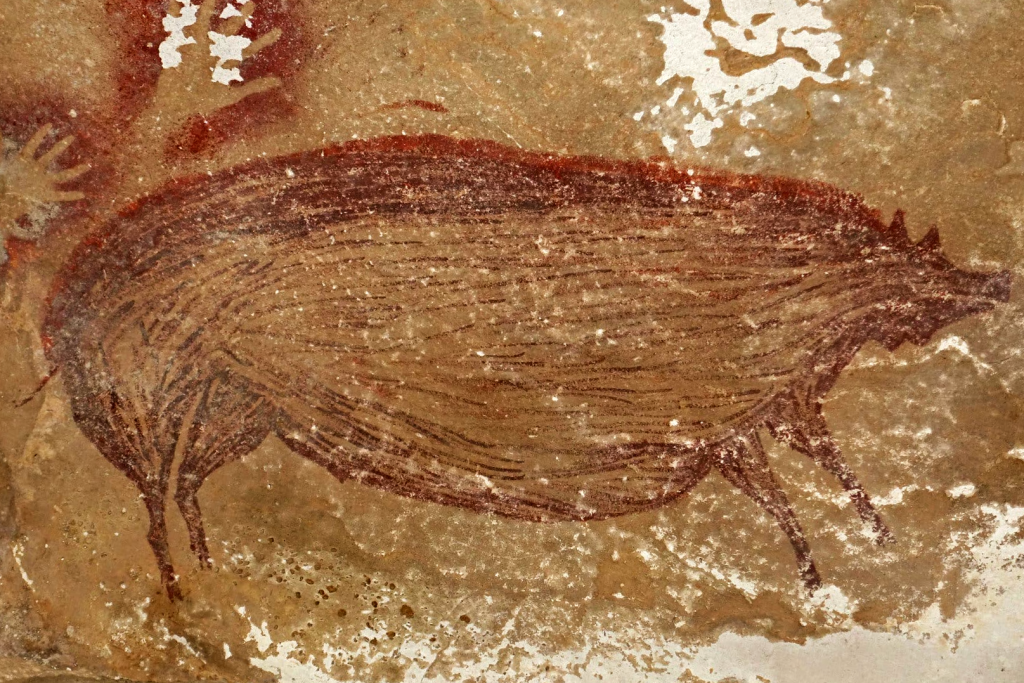
Drawing has been indispensable to humanity. Everything you own was first a design and every good design starts with a drawing. Humans have been drawing on walls of caves long before we can write.
Drawing is not just is the foundation of visual art; it is also a fundamental aspect of art in all its forms. No matter what route you take, be it architecture, painting, design, fashion, or even film, capturing your ideas in drawings is a critical step of any creative process. Therefore, learning to draw well, will lead to a better understanding and better work in all kinds of mediums and creative works.
Whether new to drawing or an expert. Learning to draw well and is something we can all take advantage of. This doesn’t only consist of having excellent ideas; it also requires technical skill.
In this guide, we will help you with our hand-picked 7 top tips and techniques to improve your skills in drawing in a short amount of time.
1. Pencil Types – Know Your Pencil Grades
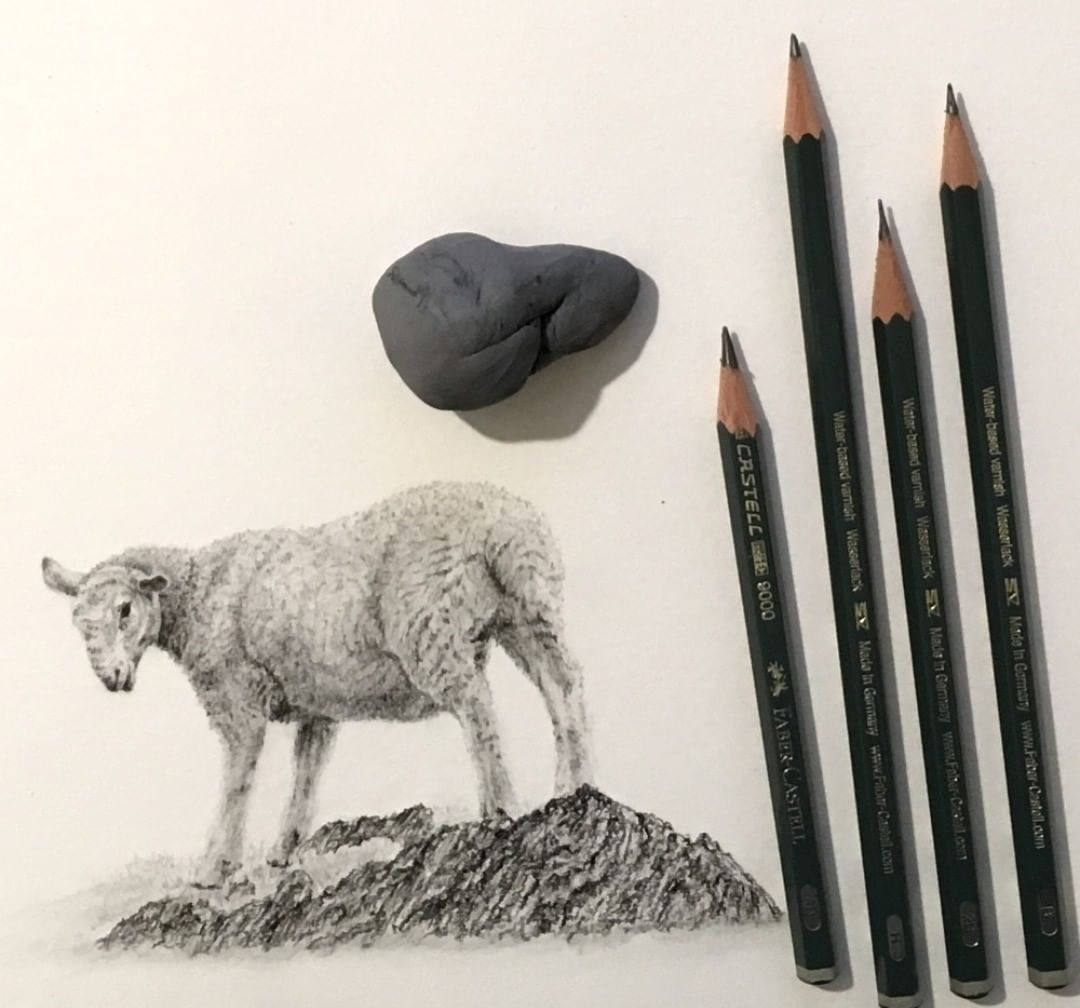
Choosing the right pencil will save you from a lot of frustration and has a huge impact on your artwork as the right pencil will affect the techniques you use, and the final look of your drawing. Different pencil types are used to achieve different results.
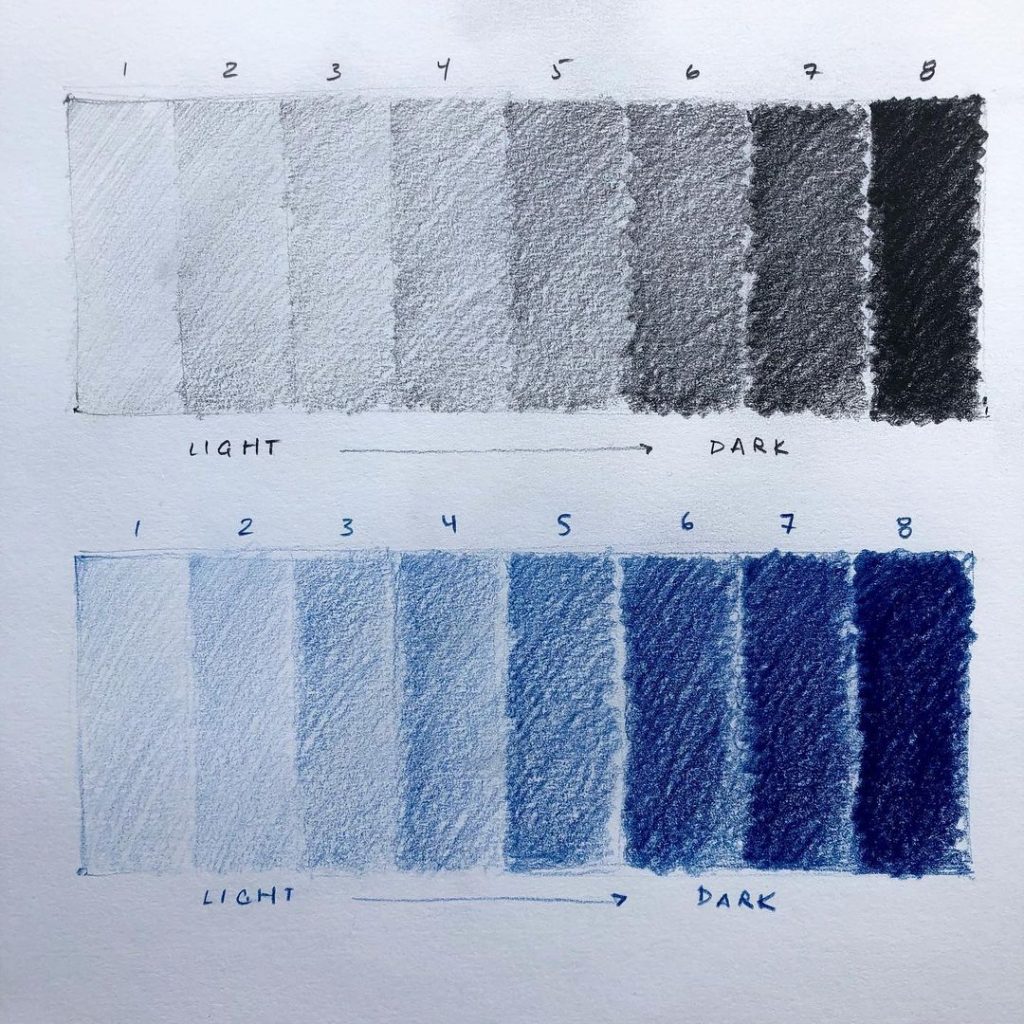
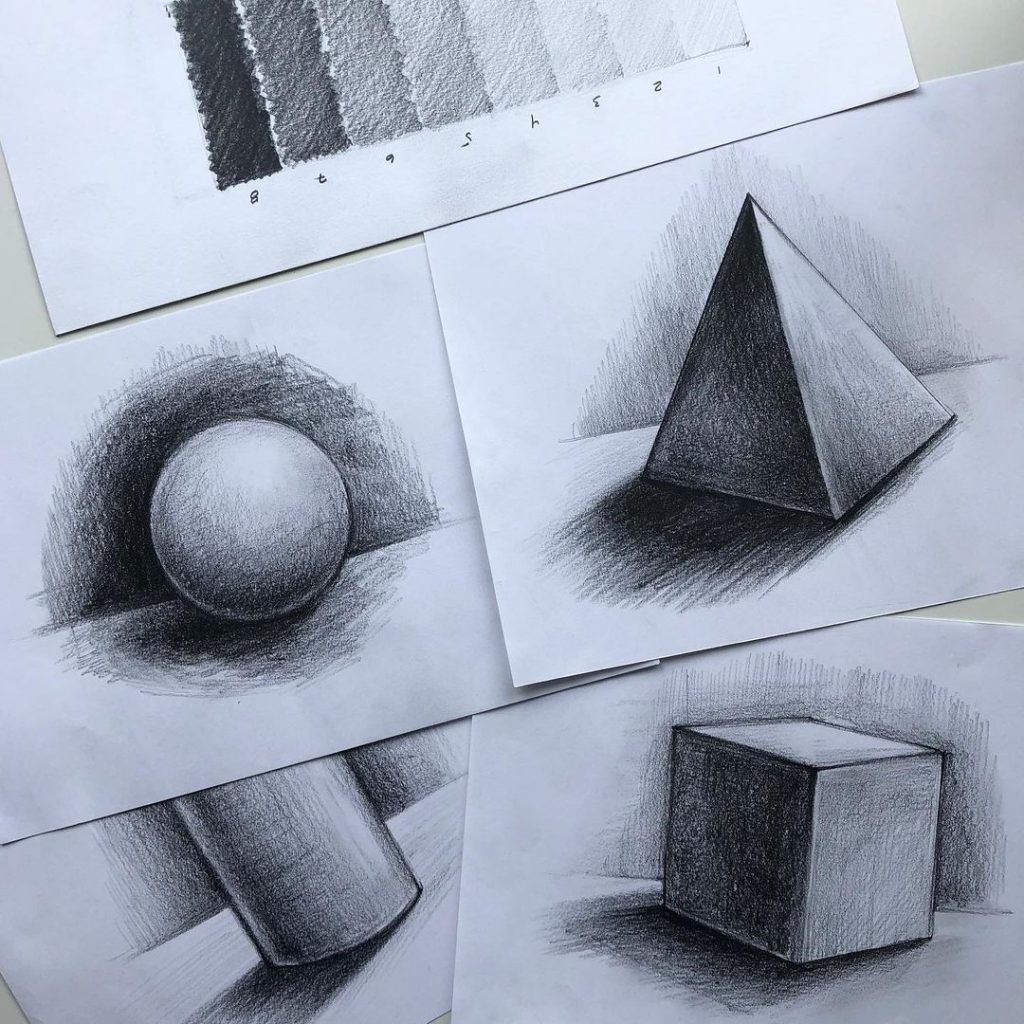
But context and so you understand the difference – The scale is hardness, with Hard is Lighter on paper and Soft is Darker. The traditional graphite pencils go from 9H (hard, pale) to 9B (soft, dark), with HB and F in between. Usually, B grade pencils are ideal to make sketches while H grades are more suited for technical drawings. A safe way to start general pencil drawings is to use a 2B or a 3B pencil which falls under the category of soft graphite. Personally, I use 2B mostly for quick sketches, about 90% of the time, occasionally though I add 4B and HB).
This is a great Youtube demo about graphite pencils, and their respective tonal variations.
Then you will need to think about a type of pencil suitable for what you want to draw. Traditional graphite pencils tend to wear out quickly. They also require constant sharpening to produce the right-sized tip. The softer the pencil you use, the more sharpening it will need, but they perform best for shading larger areas.
Another option is the mechanical pencil. This offers crisp, clean edges while sustaining uniform lines; without the need for continuous sharpening.

2. How To Hold A Pencil Like A Pro
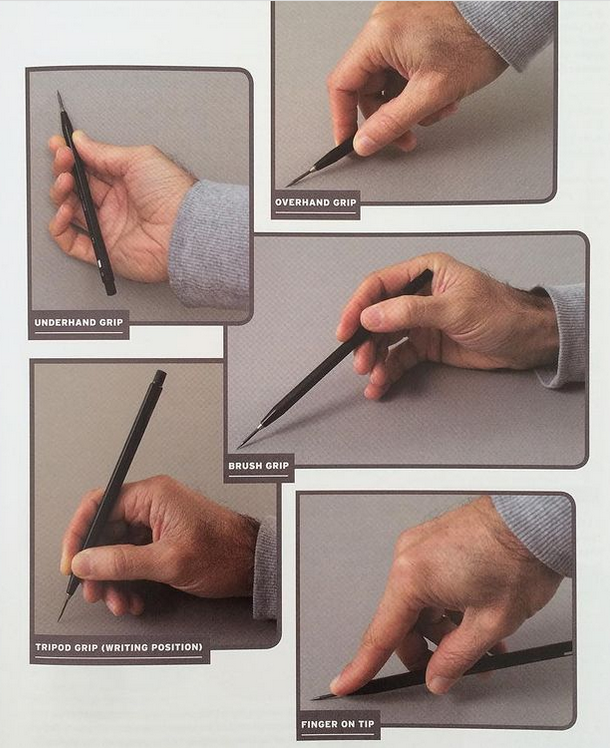
This will require some time to get used to, but a very important step when learning how to draw is the correct way to hold a pencil. It is recommended to hold a pencil in a way that the side of the lead draws rather than the tip. This method also retains the sharp pencil lead for longer.
While treating larger areas, shade with the pencil perpendicular to the line you are drawing to achieve soft, wide lines. For adding details to your drawing, hold the pencil parallel to the lines to get crisp, fine lines. The tip should be used for intricate details.
It is also essential to analyse where you are marking the pencil from – shoulders, wrist, or fingers. In order to help with pencil grip, watch this video and practice the various ways to hold a pencil.
Since pencils are prone to smudging and making the drawing untidy, it is important to know where to begin drawing from. You don’t want to rest your hand on the areas you’ve already drawn, so it is best to work from top to bottom. Those that are left-handed should move from right to left, and right-handers should go from left to right.
3. Shading and Hatching Basics
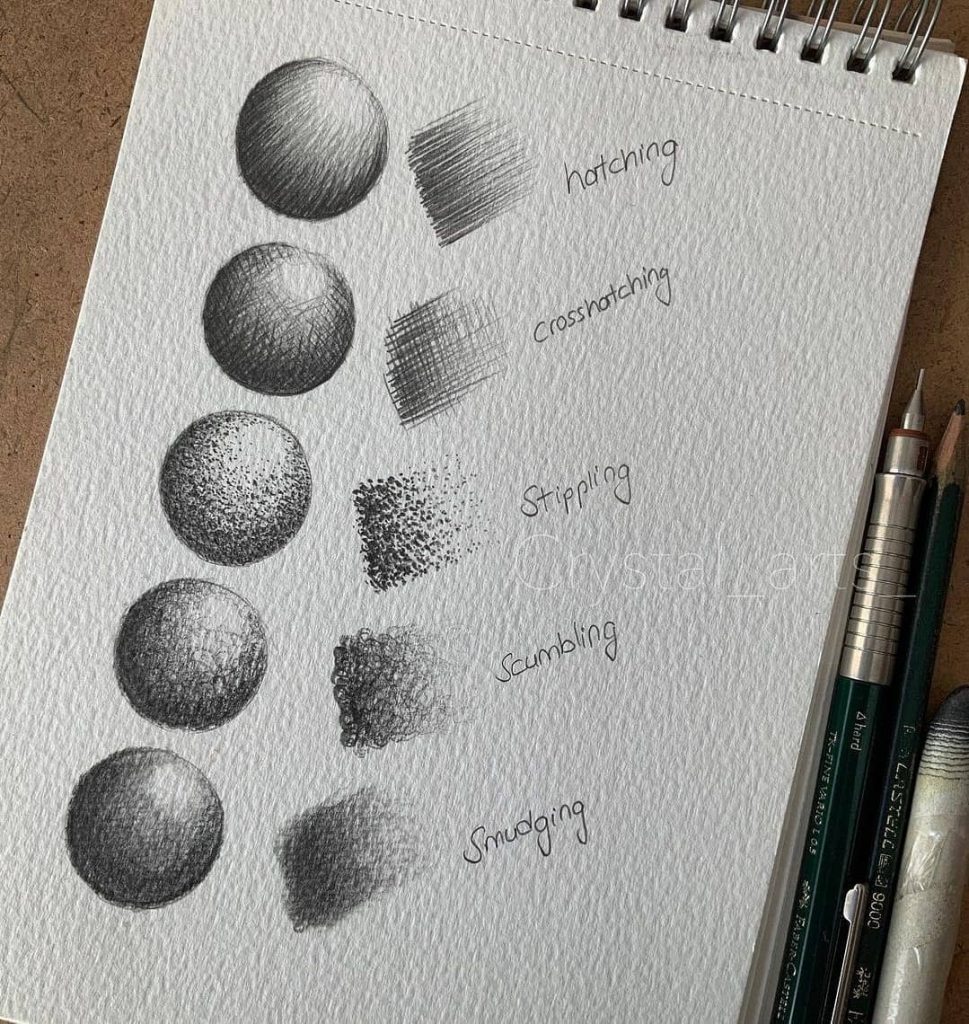
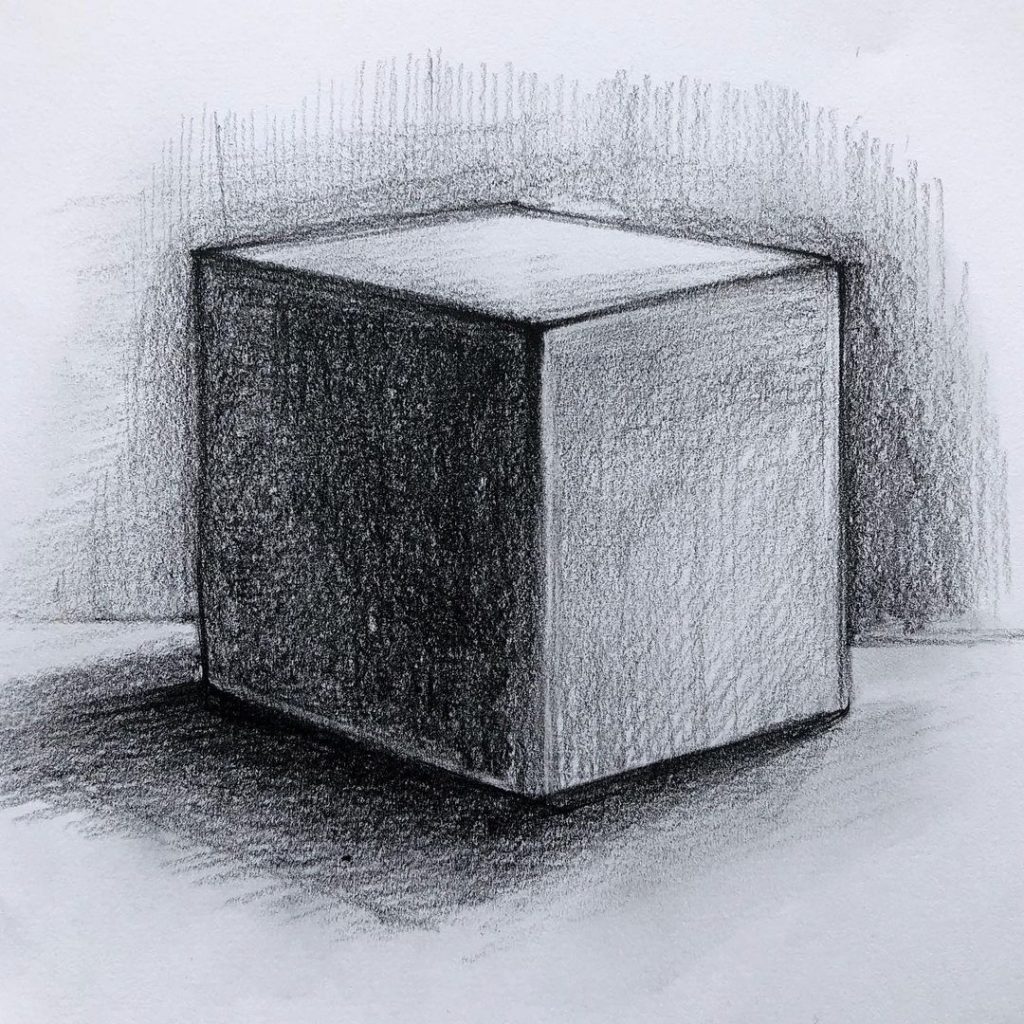
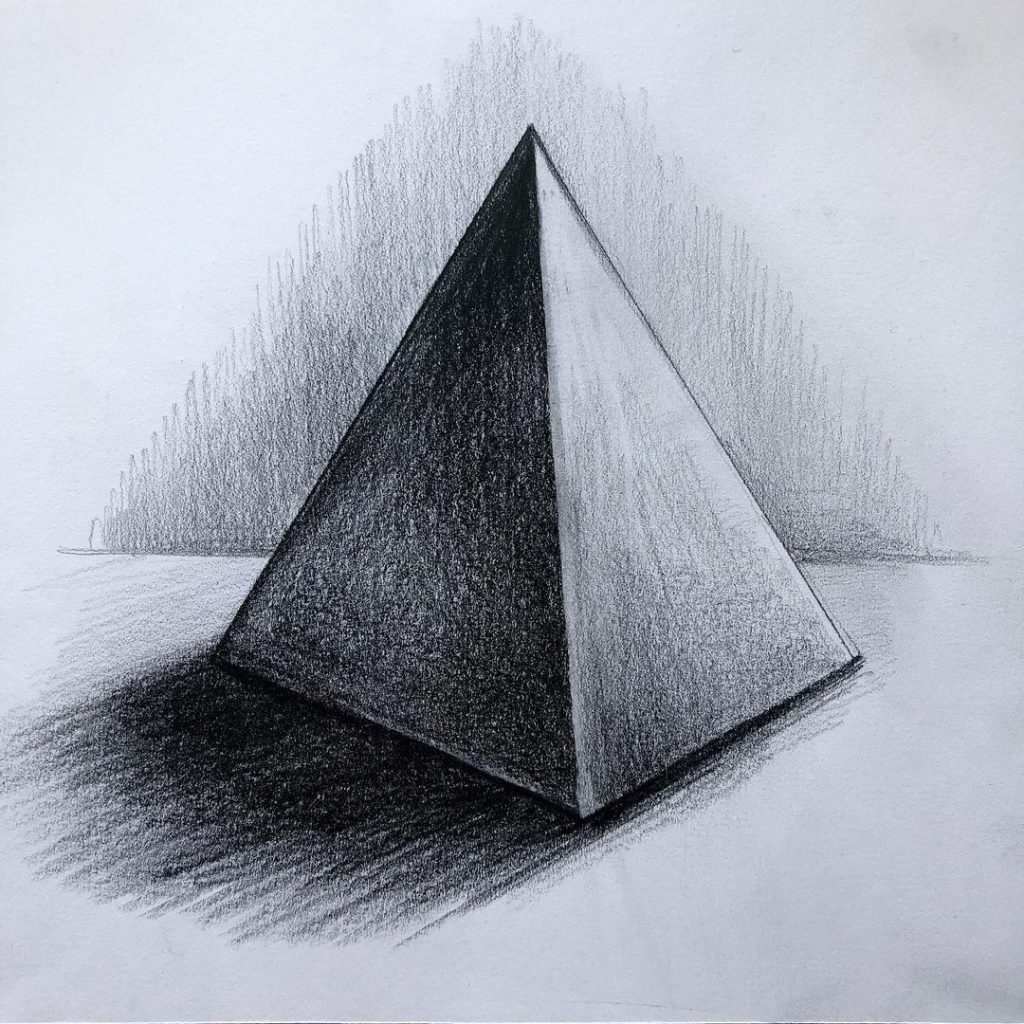
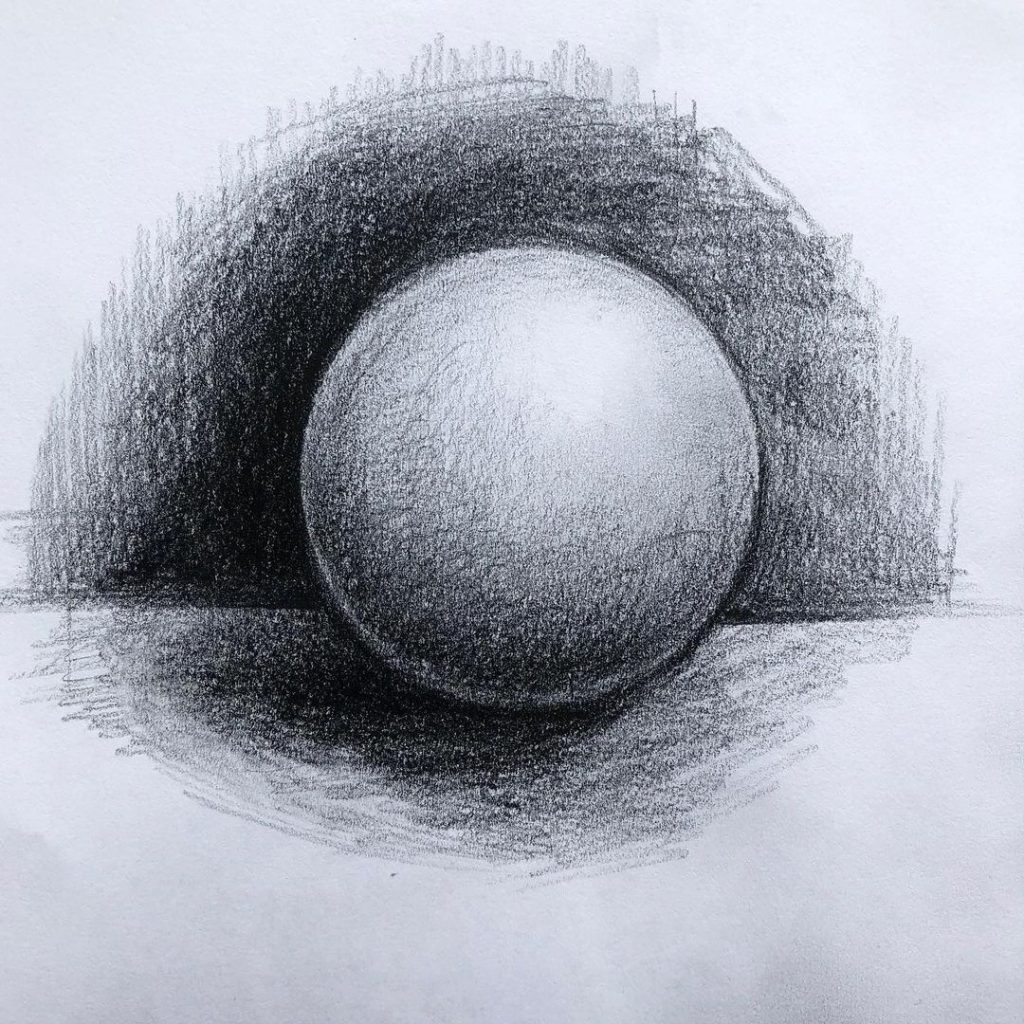
Shading comes with varied drawing techniques. One way is to create shades with all lines running in a parallel direction, also known as hatching. This method cohesively intensifies the shading and creates even shading depending on how close together the lines are. The details in the drawing are enhanced through the linear work.
The second approach is known as cross-hatching, comprising of a set of intersecting lines in order to define the shape. The lines criss-cross one another at various angles and can be circular, straight, or scribbled. This technique works best for backgrounds in addition to creating textures, as the patches of lines go about the form to generate perspective.
Another approach is called stumping, which involves creating various tones by smudging the applied shading. This can be done by pressing and smearing the applied graphite with a soft cloth, your finger, or a ‘stump’.
The fourth type of shading is known as stippling, also known as ‘pointillism’. This technique creates shades through a series of dots. The closer the dots, the darker the shade and vice versa.
4. Get Your Lines Right
The varying line thickness in drawings guide the viewer through the drawing. For instance, the thicker lines may portray the objects’ importance. Perhaps it indicates to the viewer that something is at the forefront of the view. Thicker lines also differentiate between two separate objects, overlapping one another. Different line weights can also produce different effects in the drawing. For example, if you combine a set of varied line weights, the form may appear three-dimensional.
Creating consistent, clean, and crisp lines is very important while working on a detailed area. Here, you should be aware of the line quality as well as the pressure you’re applying on the pencil. To add perspective, vary the line weight throughout the drawing rather than keeping it consistent.
An important point to learn in drawing is that lines are just an illusion – they do not exist in the real world. Therefore, shading is used to produce the tonal contrast between objects. Stimulate the line through the lightness of an object in contrast to the dimness of another. By drawing thin lines for objects in the background and thick lines for objects in the foreground, this also creates an illusion for the viewer.
5. Strokes & Directions
An interesting thing about strokes is that you only require one pencil for them. To get fine strokes, use the sharp tip, and for wide strokes, use the side of the tip. When it comes to strokes; the intensity, direction, and width matter a lot. These factors combined can impact the drawing drastically.
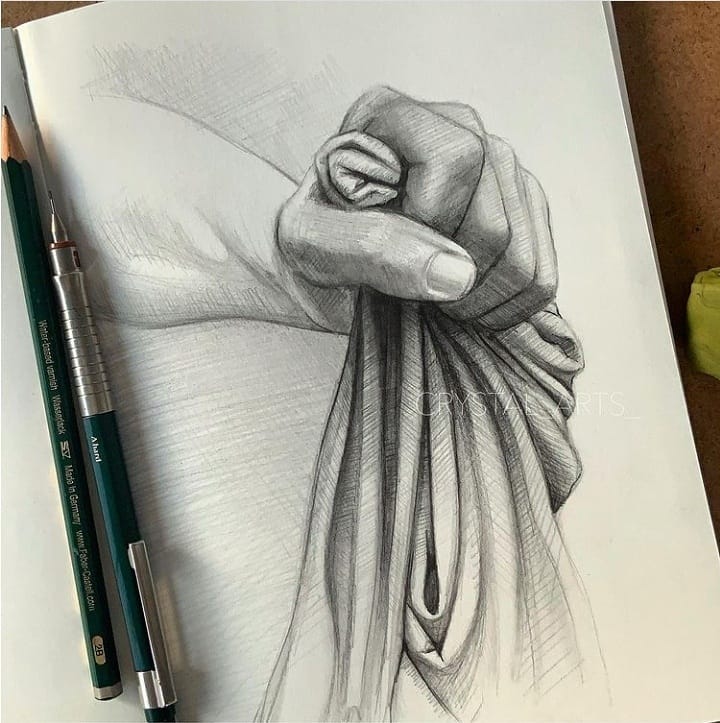
Strokes help to depict the texture of the object, its shape and form, as well as its dark and light areas. The most basic technique for creating strokes are one-directional strokes. Depending on the object, you can determine the stroke that best suits you. For instance, to create smoke you can use a circular stroke, and for rounded objects, you could opt for a curved crosshatch stroke.
As mentioned earlier, lines don’t exist in the real world. Therefore, the strokes should be able to explain the object on their own.
6. Sketching
Drawing begins with inspiration. This could be something you saw or something entirely from imagination. Once you feel inspired, you need to determine the medium you want to work with. All of this is the planning phase of your drawing – the sketching phase. Sketching allows you to plan out and explore various ideas before you move on to the final drawing. Instead of jumping right into the drawing, make sketches and try out different compositions, sizes, light sources, and more.
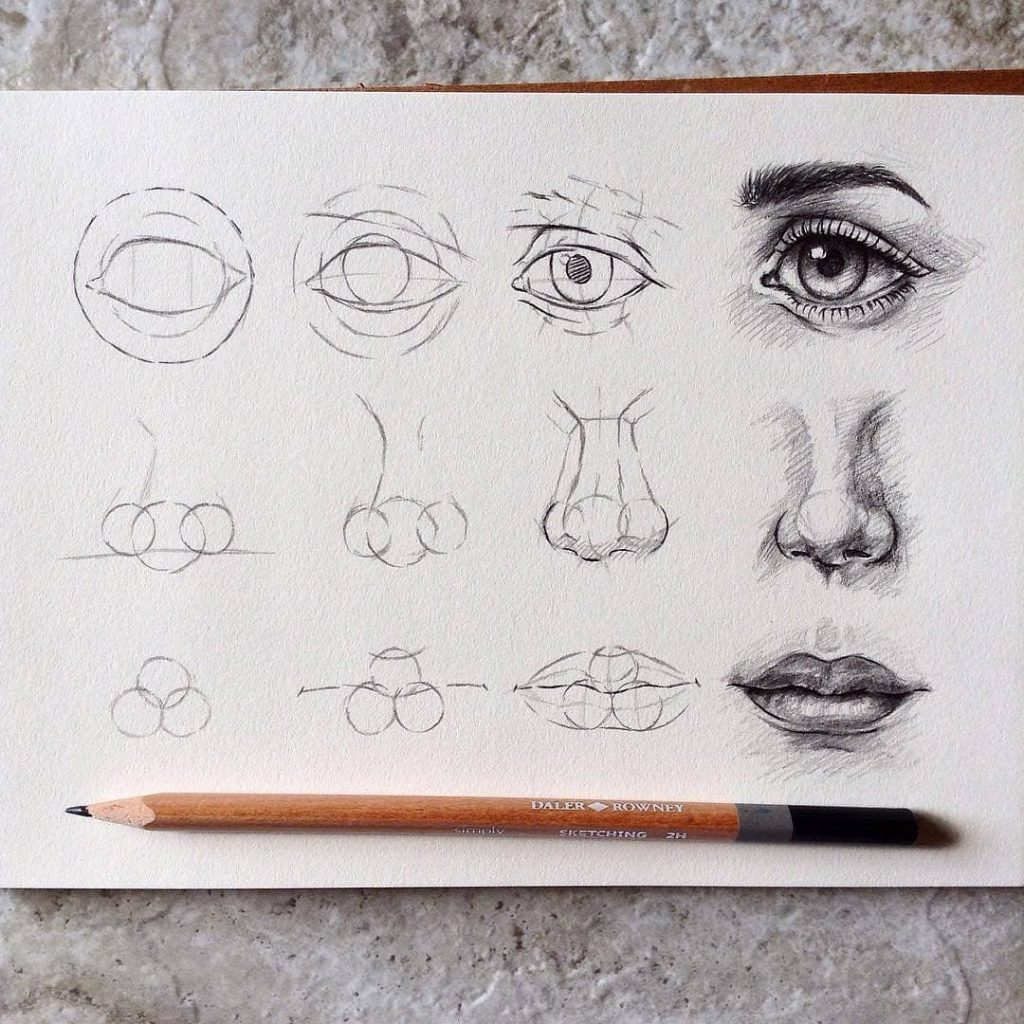
Sketching is all about creative play. It also allows you to study figures, features and expressions, as well as the anatomy of both living and non-living things. The fun thing about sketching is that it does not have to be neat and organised. In fact, it is an open field where you can let your creativity and imagination run wild.
7. Composition
Composition is an essential aspect of drawing. This is the arrangement or positioning of the components in the scenic space; a workspace. All artworks have a composition, either created by accident or consciously. It is what gives form to a drawing while shaping the perspective of the viewer.
There are various rules of composition that you should keep in mind while drawing:
- Focal Point – The central part of your drawing; the object where the eye lands first.
- Contrast – The tonal variations within the drawing (light and dark) that enhance the forms, shapes, and shadows.
- Lines – The element that directs the viewer’s gaze from one object to another. For example, the line of one object should be able to draw the viewer’s attention to the line of another.
- Negative Space – The space that is not used by any component of your drawing. It is also known as the breathing space.
- Overlapping – This adds visual depth and unity within the drawing. Overlap or layer the objects instead of placing them side by side.
- Proportion – The size of an object in comparison to another object. An oversized banana with an orange the size of a pea is surely disproportionate!
Experiment with these rules of composition yourself. For instance, make an object the focal point of your drawing by making it larger in comparison to the others. You can also place the focal point with darker tones in the foreground, while keeping the other objects lighter in tone and positioned in the background.
Check out this video to learn more about the fundamentals of composition.
There are many ways to play with compositions, but try following some of these principles, and – of course – have fun!
Are you interested in more drawing tips and tutorials? Check our other posts.
For daily inspirations follow our Instagram page.
Did you like our article: “7 Top Drawing Tips and Techniques to Improve your Skills”? Do let us know your thoughts below!
