Watercolour Basics Tutorial for Beginners.
Watercolours are tough to work with. Even for experts and seasoned artists, watercolours can be difficult as they work differently compared to acrylic or oil paints. Without a doubt, they have been a favourite yet tricky medium among artists and enthusiasts alike. Knowing the basic techniques as well as technicalities concerning watercolours, you will learn that watercolour painting can be pretty adaptable and versatile.
With the help of our Watercolour Basics Tutorial for Beginners, you will gain an understanding of how watercolours truly work. You will learn about the main watercolour techniques so you can start thinking up your own creative ideas.
Let’s begin!
The Wet on Wet Application
The wet-on-wet technique produces a very fluid impression.
Start off by wetting the watercolour paper with a fair amount of clean water using a flat brush. After that, mix a moderate amount of water into your paint and drop paint on the wet surface using the wet brush. Take your time practicing this step. You can opt for different colours if you like.
For areas that are large or areas where you require a soft layer of paint, the wet on wet technique is a good technique to use. After you’re done adding the final layer of paint, tilt the board to allow the paint to flow and blend itself.
The Wet on Dry Application
The wet-on-dry technique tends to produce more well-defined forms.
For this, mix any colour with some water. Right after that, begin painting on the dry surface. This technique allows for a more controlled form of work where you achieve high precision; as unlike the wet on wet application, the paint only follows the brush.

Before going on to the next practice page, make sure that the paint has dried thoroughly.
Colour Mixing
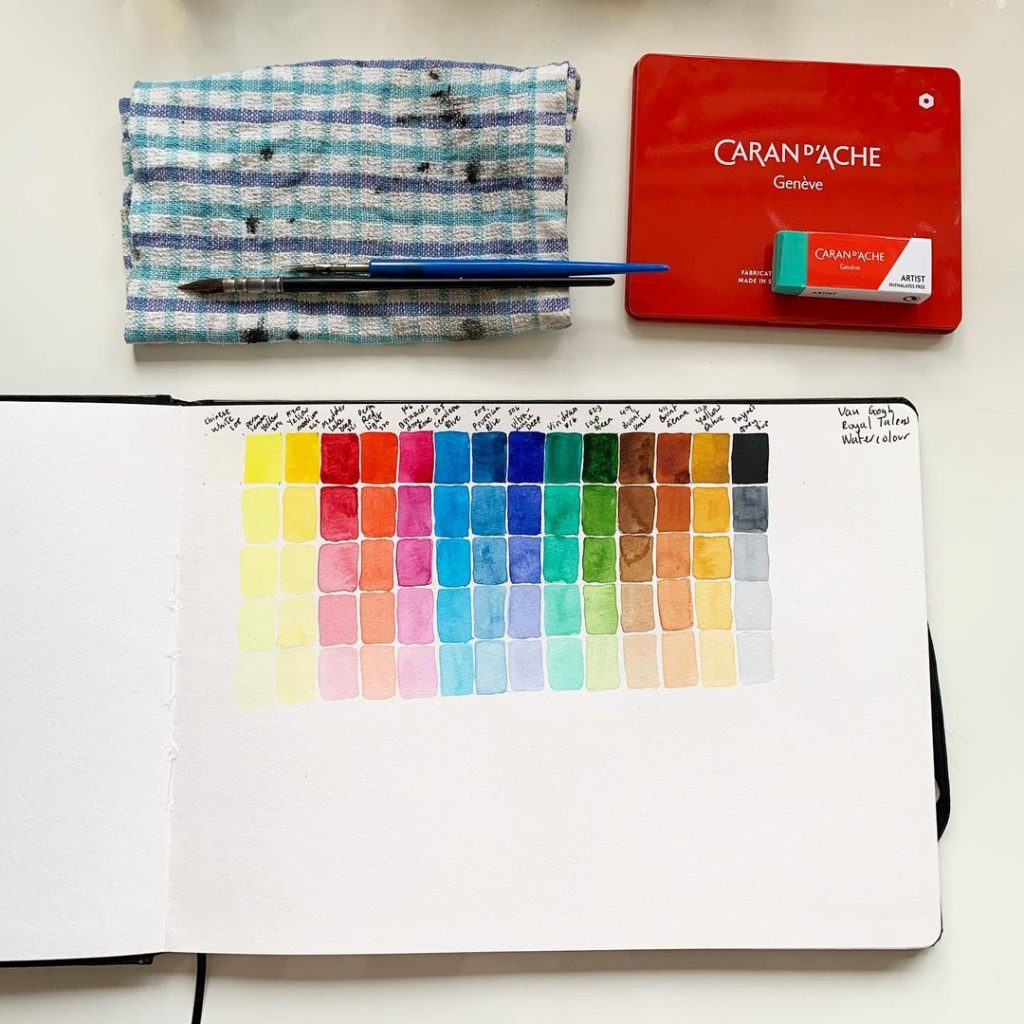
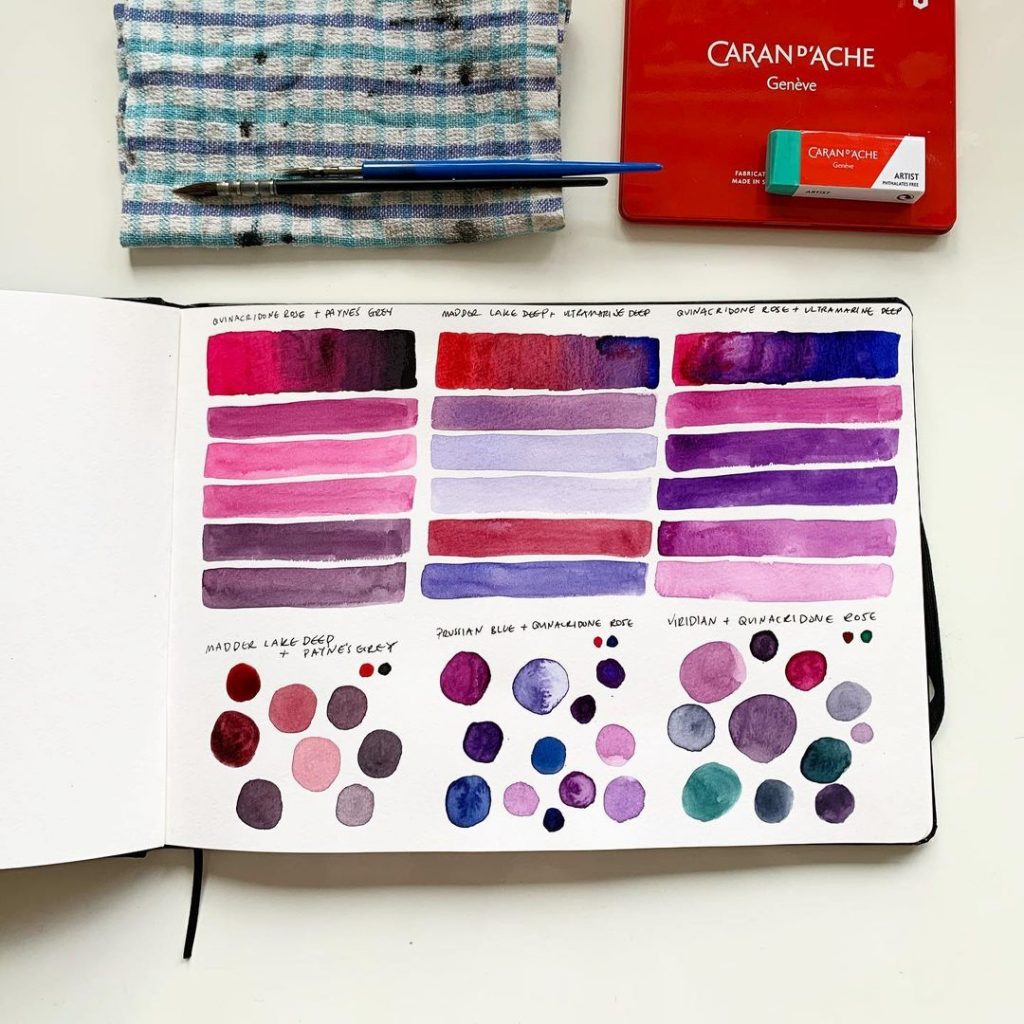
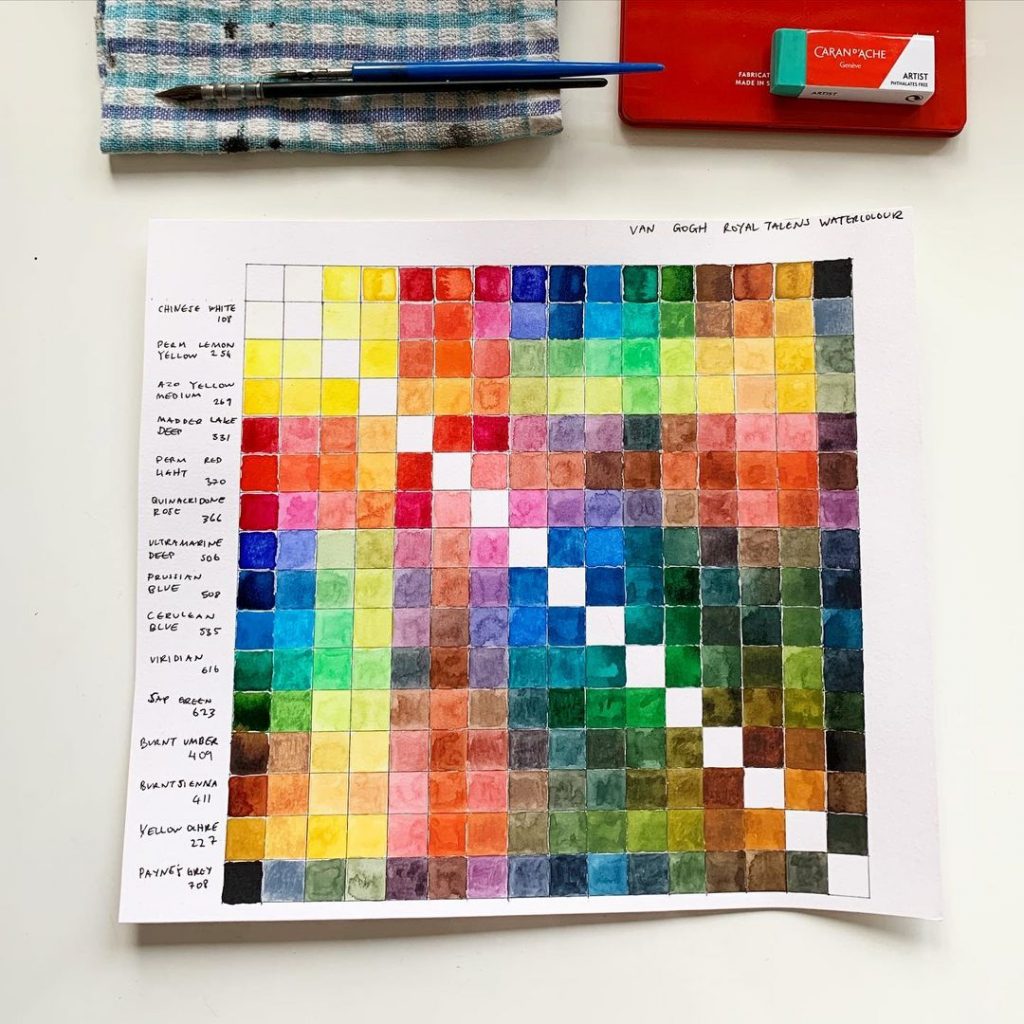
The interesting element about watercolours is the water itself. Mixing paint by simply adding water can create a variety of beautiful colours. With just a little touch of water, or when mixed with other colours, the dry pigment will loosen up to produce new colours and shades.
Through water, you can also mix colours that are sitting side by side. For example, you can use a water brush to create a green shade by combining the yellow and blue present in that area.
The key here is to remember that adding more water will result in a lighter shade, and the less water the darker the shade.
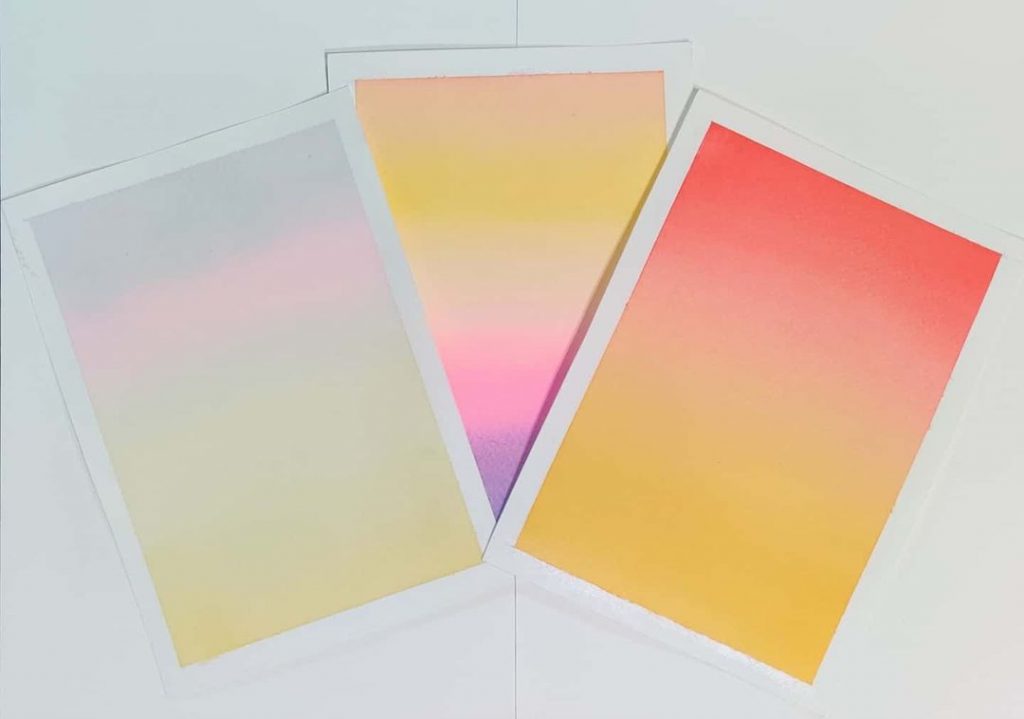
Forming Gradient
Watercolours are highly transparent so it is important to start painting with the lightest colours first, unlike acrylic and oil paints. With each application, the paint will build-up, resulting in darker shades.
The best way to master this technique is to begin with the lighter shades first and slowly building up to the darker ones by layering paint of the same – or different – colours; however you like.
Make sure you always plan ahead and ensure that the lighter colours stay exactly where you need them. Continue like this on the entire piece. To finish off, add fine details with a small brush.
More Resources:
- How to use watercolour – Tutorial by kelogsloops
- Watercolour painting, Comparing WET ON WET vs WET ON DRY Technique -Tutorial Step by Step by Paintinghyun
Are you interested in more drawing tips and tutorials? Check our other posts.
For daily inspirations follow our Instagram page.
Did you like our article: “Watercolour Basics Tutorial for Beginners”? Do let us know your thoughts below!
